Wednesday, September 30, 2020

DIY paper mache garland

I have had a lot of requests on how I make my paper mache garlands so I thought I would put the how-tos here. 
I have done every holiday but I must admit, these pumpkins are my favorite! 
Below, in each picture, are the instructions. 

This is an example on one of my bunnies. ^
this is the base coat I used. 
Use an antiquing wax if you want it muted or antiqued looking or...water down a brown paint or... dry brush a brown on this orange. 
I just had to add them with the garland! 

Wednesday, September 16, 2020

Fall Basket Styling

Baskets are for anytime of the year and you know what? We all have them. Whether they are used for hampers, plastic wire, wood, leather etc., we all have some type of basket in our homes. I decided to make this weeks segment on basket styling for your Fall decor. Baskets can be found pretty much anywhere you go. I love finding them at thrift stores! 
Here is a series I did on Instagram that I think you'll enjoy.  It is inspired by my grandson who had a huge role in what to use. Notice, his snacks are even in the first picture 😂
Next, find a fall tea towel or napkin.
I hope you enjoyed this Fall look! Find things around your home, grab dried tall grasses from outside. Challenge yourself to decorate with what you have if you like. I know I love a challenge of not spending a dime to get new looks each year. 
Want more ideas? Follow me on Instagram! @lambertcottage 

Monday, September 14, 2020

Free Fall Decor

One of my most favorite things to do is to challenge myself on decorating without spending a dime. Whether its shopping my home or finding nature outside to decorate with, I love to challenge myself to make something I love even more than what I can buy in a store. 
So, off I went, pickin wildflowers. 

The large sheep painting is something I have been wanting to do for a while and I finally had the chance yesterday. I love it on this old wooden door. 
This cabinet is pretty tall so I knew I needed to raise this door up to be able to really see the sheep. I used a Longaberger basket tray turned upside down as a riser to lift it to just the right height. 
Next, I separated the drued out grasses from the wildflowers. I put the flowers in the gathering basket and the drued grasses in a vase to achieve this look. 
You don't necessarily need pumpkins, garlands and things like that to get a warm and cozy Fall look. Let nature show you what Autumn is all about. 🍂

Friday, September 11, 2020

Fall Sunflower Wreath DIY

My daughter in law wanted a Fall wreath for her front door.  She was on her way to go to Hobby Lobby to get some things but on a budget. I told her if she didn't find what she wanted to keep in mind that we can get some beautiful things from nature for free. She ended up paying a few dollars for the grapevine wreath but nothing else. 
So, we went outside, by our pond and then in her wooded backyard and gathered some wild flowers and sunflowers, grasses and wild weeds with texture. 
We
After that, she decided she wanted to decorate the bottom half and sides of the wreath only. 
Below are step by step photos of how we made this wreath that turned out so beautifully.  

First we placed the tall grasses that were cut. They were easy to wrap around the bottom because they weren't quite dried out yet. 
I recommend using hot glue and jute to secure it. Normally I would recommend wire, however that would show more than the natural jute on this particular wreath. 
Next, we cut off the flowers from the stems then separated them by size. We wanted the larger ones clustered on the bottom. 
The smaller flowers were placed like they faded up through the sides.
I hope you enjoyed our DIY and gained some inspiration.  Wreaths are so expensive these days for just the supplies so why not use nature in your season!  🌻 

Wednesday, September 9, 2020

Throwing A Throw (blanket)

Have you ever wondered how the designers throw a blanket and make it look amazing? You try and try and it looks like someone sat on it or pulled it from the trash 😂 🙋‍♀️ 
For years I have studied off and on the art of styling a throw. Lately I have realized that its actually quite simple. 
1. What is it's purpose? For guests? To cushion your seat? For display only? 
2. What is the style of your throw? 
Is it textured differently in the middle, edges, etc all over the throw or is the texture consistent throughout the blanket? 
These are the questions you must conclude first. 
Now, I am no expert, however, I am showing how this has helped me to not be so fussy with it. 

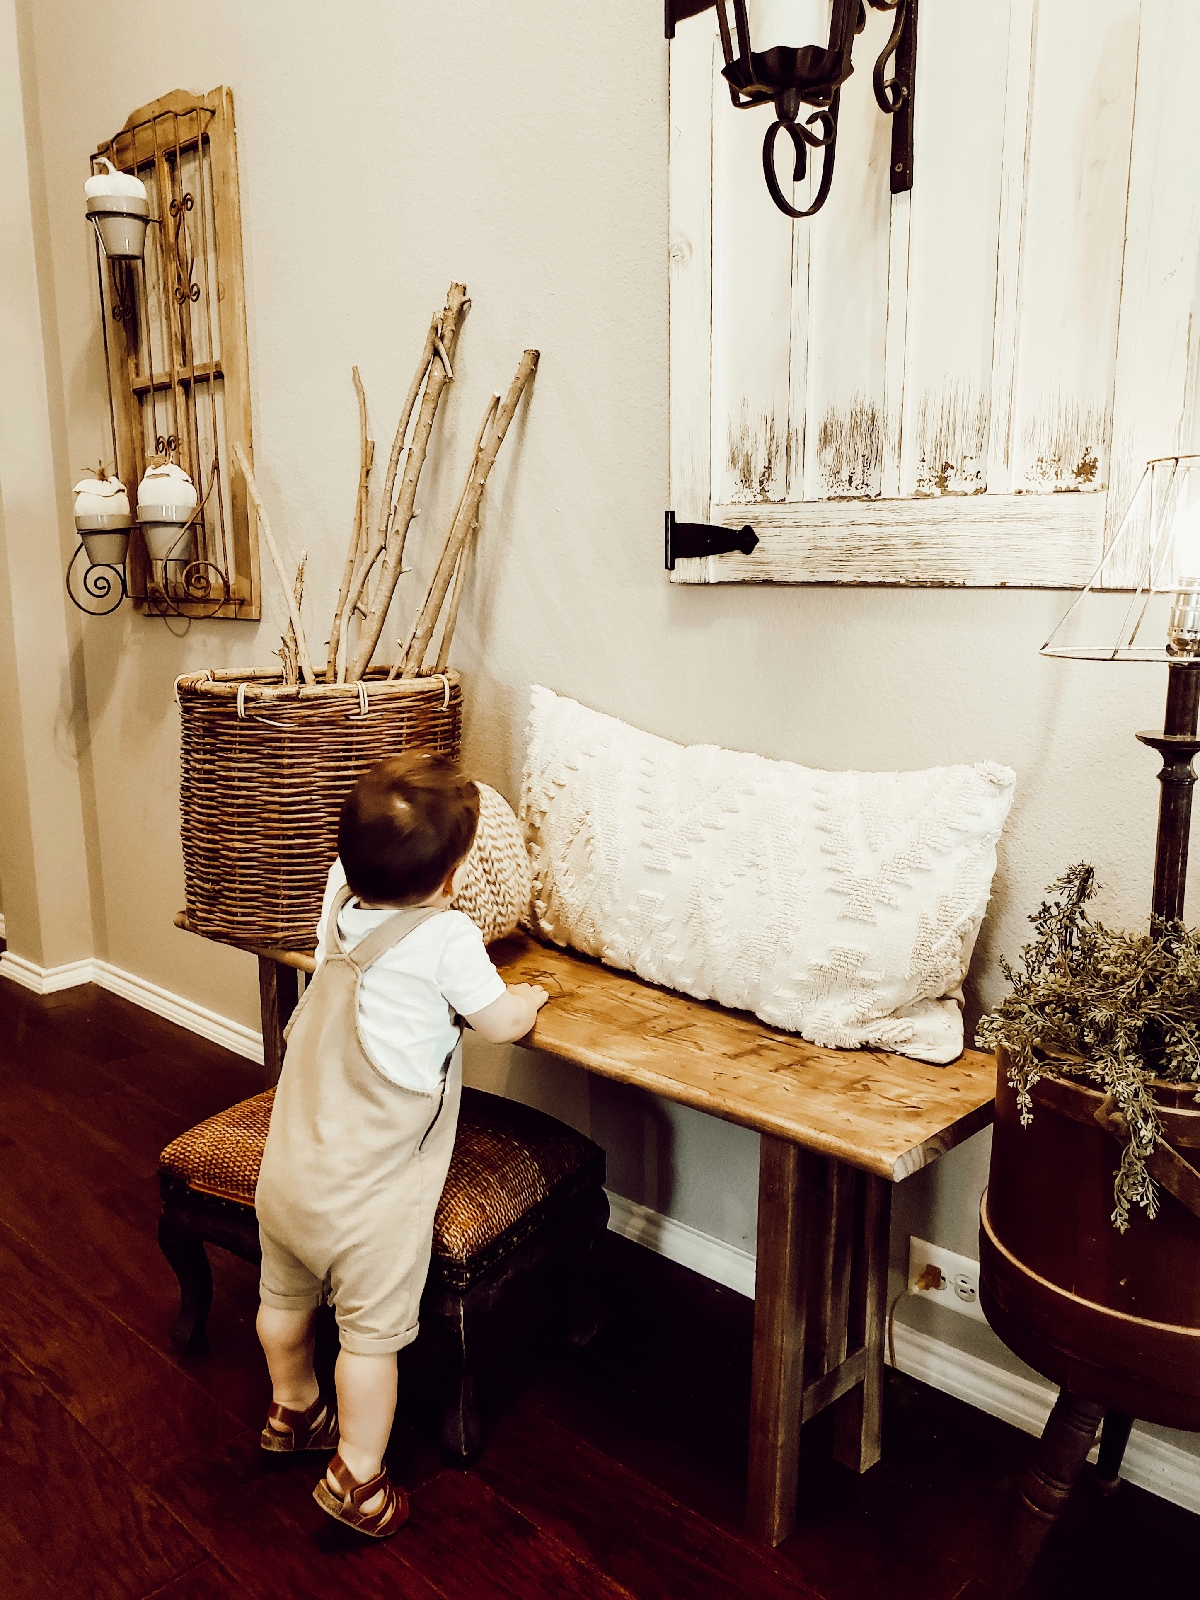
In the picture above, this particular throw is different throughout.  It has ribbed edging, different knitted textures on the sides and middle. I threw it casually then moved around sides of it I wanted to show off. This is a very casual look made for display or to grab and cozy up with. 
This throw is a consistent pattern all over. These are great folded, tucked or thrown. In this photo above, I pinched the middle making a point and threw it into the corner. Add a throw pillow on top and now it's ready for the guest you know will need one when visiting. 😂
This photo above is a great way to use your sherpa throws. Sherpa is like a faux super soft wool. Its texture is consistent all over. When you have a leather chair and you don't want your legs to stick or freeze, you can use these as make shift slip covers. Or maybe you just don't like the look of your chair. Voila. Instant camouflage.  
Another way I love to use throws is for extra cushion on hard seats. No seat cushions? Use a folded throw. They also look cute propped up on a stool to grab and cozy up to. 
For fringed throws or throws with tassles, you want to show off that part of the blanket. When you walk into the room, look and see if you see the fringe or tassles right away. In this photo, I have it laying on the back of my bench since that's the first thing you see when walking into my dining room. 
Bedroom throws are GREAT for layering. A bed looks fluffier and cozy when using layers. This is a great way to achieve that look. 
Finally, I want to show you a special blanket my mother crocheted for me years ago. It has a unique edge to it. In the photo below, is an antique chair that my husband and my babies were rocked in. I wanted my mothers throw on this chair. I pleated the throw to show off not only the edging but the gorgeous texture of it throughout.  
I hope you have been inspired to throw a throw now! Keep trying, you'll get the hang of it. Just realize what its use will be and you got it! 

Friday, September 4, 2020

Different Fall Looks For Your Diningroom Table

Last night I couldn't sleep. My mind was going and going. If you have been following me on Instagram @lambertcottage you have seen that we have been working on restoring our farmhouse table.  It came to us splintery and a reddish stain. We had to sand it. We were going to stain it special walnit which is always our go-to stain, however, after sanding it, I fell in love with the beautiful raw wood. I even put a poll up on Instagram to stain or not to stain and an overwhelming majority said keep it raw. 
In this 2nd picture, you can see what it used to be. Kind of. On the edges that is. It was much more reddish orange in person. In this shot, hubby took over the sanding while I took pictures before it got sanded all the way. 
So, it's not quite finished. We still need to work on the bottom shelf. 
We brought it back in the house for now so hubs could have his garage back. 
I couldnt leave the table in the room without some decor. Fall is my FAVORITE! So, I decided I would show different Fall decor styles. Not everyone is French country farmhouse like me, so I wanted to show a variety. 
First I showed minimalisim. Minimalism is just that. Minimal. Calm to the eye. NO clutter. 
Next is Boho. Boho is very organic, natural, nature, usually lots of plants with macrame. I left the plants out of the pic, because I wanted it very neutral by using wheat. 
Next, is French Country. French country is sacndinavian. Parisian, elegant. Think crystal chandeliers, whites, creams, blues and some muted colors. I didnt use blue because I wanted to keep the space warm and Fall tones. 
 Finally, I created a farmhouse look. Farmhouse is antiques, anything you could use from a farm, quilts, and cozy. Here I changed out the table runner to a striped one. I used striped pillows as well. Checks and prints also do well with the farmhouse look. I used wire baskets and spilled out of them greenery and pumpkins. 
Up on the shelf mantle, I used a dough bowl and placed acorns inside with pumpkins and an antique scoop. 
Curious which style is your favorite? Let me know in the comments below! 

Thursday, September 3, 2020

Toddler Autumn Photoshoot

I had a visitor today! My grandson came to see me and check out my new Fall decor. Of course all he noticed were the pumpkins. 
Now, he is all into climbing. On EVERYTHING. He had to get on the bench. So, up he went with his mammas and my help of course. I thought he would grab the sticks in the basket. Nope. It was the pumpkins he couldn't get enough of. Up and down he went with them. He is now convinced they are basketballs and soccer balls 😳. 
I thought these would make such cute pictures so I grabbed my camera, picked up the larger pumpkin, placed it on the other side and he zeroes in. 
That was my morning in a nutshell. 
Have I mentioned I love being an Omi (grandma)? Clothing and shoes from Walmart.